Career Path - Site Reliability Engineer
Pursue a bright career in Site Reliability Engineering. Build automated solutions for operational aspects, monitoring, performance, CI/CD and DevOps.Preview Career Path - Site Reliability Engineer course
Price Match Guarantee Full Lifetime Access Access on any Device Technical Support Secure Checkout Course Completion Certificate 95% Started a new career
BUY THIS COURSE (GBP 99)
-
 99% Got a pay increase and promotion
Students also bought -
-
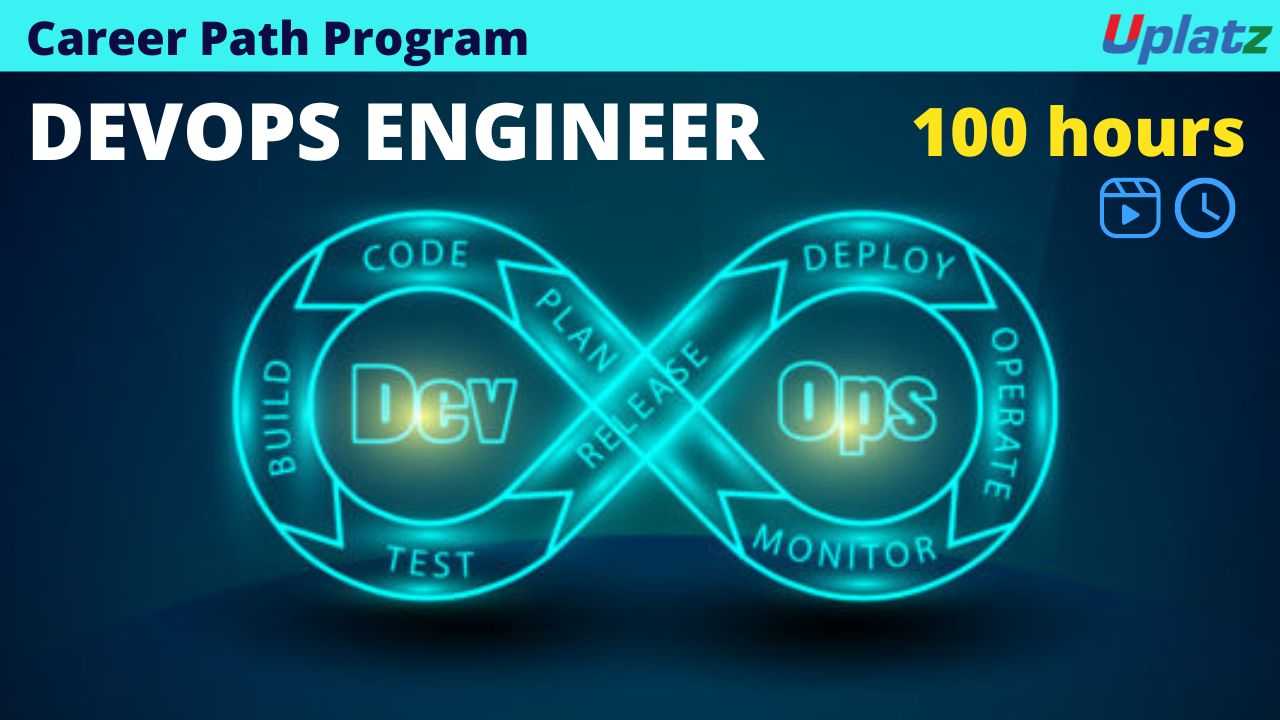
- Career Path - DevOps Engineer
- 100 Hours
- GBP 99
- 372 Learners
-
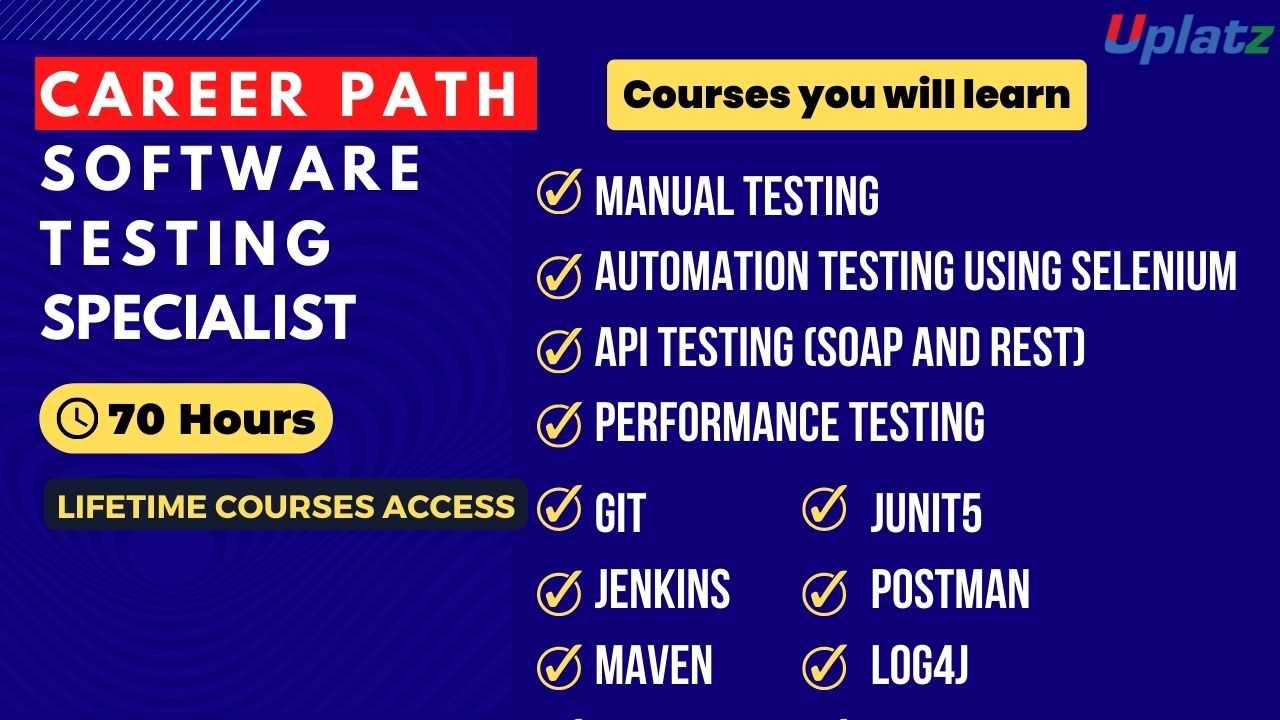
- Career Path - Software Testing Specialist
- 70 Hours
- GBP 99
- 222 Learners
-
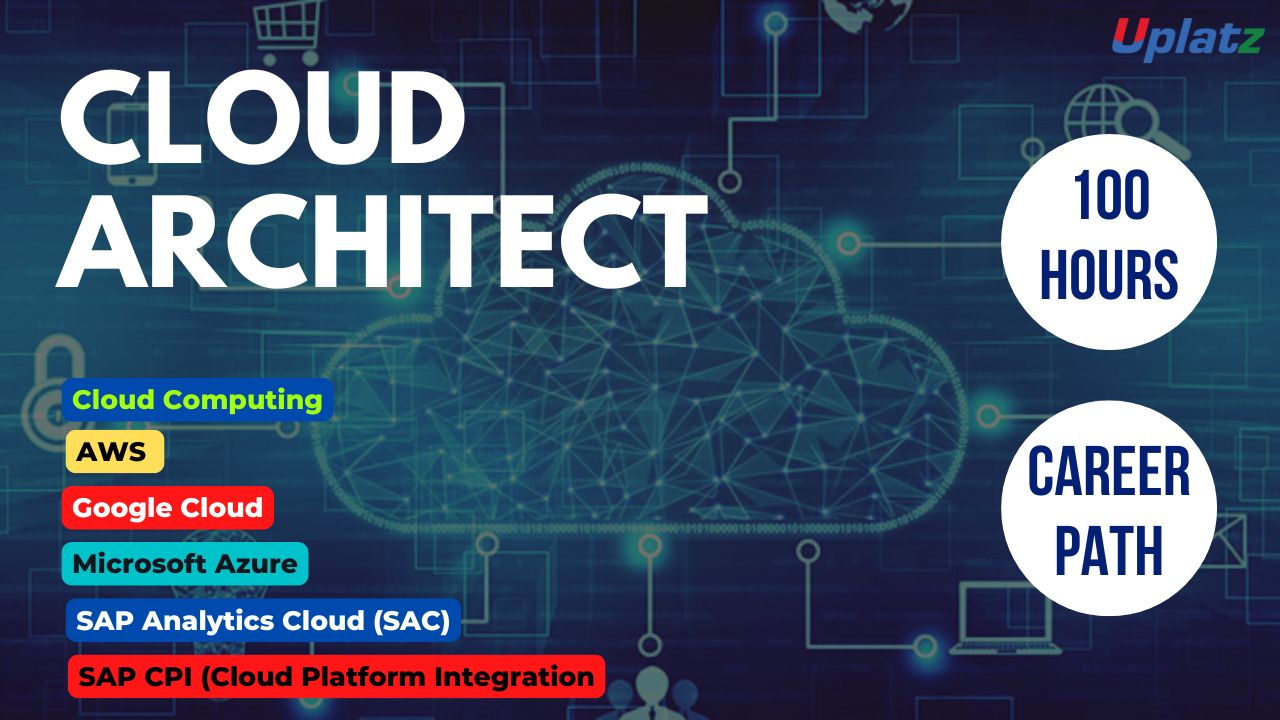
- Career Path - Cloud Architect
- 100 Hours
- GBP 99
- 888 Learners
Uplatz provides this comprehensive career path program on Site Reliability Engineering. The program consists of the following courses:
1).Introduction to DevOps
2).Git and GitHub
3).Maven
4).JUnit 5
5).Log4j
6).Automation Testing
7).API Testing
8).Postman
Site Reliability Engineering (SRE) is a software engineering approach to IT operations. SRE teams use software as a tool to manage systems, solve problems, and automate operations tasks. Site reliability refers to a system's capacity to recover from infrastructure or service failures. To satisfy demand, it's critical to acquire computer resources and manage interruptions like configuration errors or intermittent network problems.
SRE uses software engineering to automate IT operations tasks - e.g. production system management, change management, incident response, even emergency response - that would otherwise be performed manually by systems administrators (sysadmins). The principle behind SRE is that using software code to automate oversight of large software systems is a more scalable and sustainable strategy than manual intervention - especially as those systems extend or migrate to the cloud. SRE leverages operations data and software engineering to automate IT operations tasks, and to accelerate software delivery while minimizing IT risk.
SRE can also reduce or remove much of the natural friction between development teams who want to continually release new or updated software into production, and operations teams who don't want to release any type of update or new software without being absolutely sure it won't cause outages or other operations problems. As a result, while not strictly required for DevOps, SRE aligns closely with DevOps principles and can be play an important role in DevOps success. Modern software development requires bridging the increasing demands of Development and Operations without conflict. Site Reliability Engineering is a growing discipline and role that fills in the gaps between Dev and Ops.
SRE Best Practices
1).Ensuring reliability - getting systems back to steady-state as quickly as possible
2).Eliminating toil - automating wherever possible
3).Blameless postmortems - driving better cross-team collaboration
4).Observing what matters - gaining full visibility into system health
5).Being pro-active - living and breathing SLOs to identify and remediate issues before SLAs are violated
6).Architecting for resiliency - Informing architectural design decisions to build more reliable systems
Course/Topic 1 - Introduction to DevOps - all lectures
-
In this session of you will get an intro about the DevOps.
Course/Topic 2 - Git and GitHub - all lectures
-
Need of version control system. This series related to Git and GitHub, what is Git and what is Git hub and how we need to work with GitHub as a real-time tool. VCS – Version Control system –provides the process of monitoring team members work and activities in the project.
-
What is Git .Git as a VCS for tracking changes in source-code. Different Git Software we need to download in the system as per the operating system.
-
How to install Git Software in windows operating system . Later, how we can register in GitHub
-
Workflow with respect to Git. Basic Git operations and workflow (explained with diagram). Git in action.
-
What is remote repository and how to create remote repository.
-
How to add existing project to GitHub using Git Bash. Using spring tool list
-
Basic feature on working with local repositories and remote repository. Local repository, remote repository - performing operations such as how to fetch the code from remote repository to local repository
-
In this session how to push an existing project to remote repository. Perform all the activities to through IDE tool i.e. HTS IDE tool important IDE tool for JAVA Developers.
-
How to push project and project related files into GitHub remote repository from local repository through VS code IDE tool. VS code is an open source tool used by mostly frontend developers.
-
How to perform delete operations? How to delete files present in local repository? Create or initialize empty local repository
-
Discus about branches in Git. What is a branch as a version of your repository? Multiple copies of actual project. main copy – Master branch.
Course/Topic 3 - Maven - all lectures
-
This tutorial has been prepared for the student to help them understand the basic functionality of Maven tool. After completing this tutorial, you will find yourself at a moderate level of expertise in using Apache Maven from where student can take themselves to next levels.
-
In this Maven tutorial, we will show you how to install Maven for your Selenium test automation projects and running your first project in this Selenium Maven tutorial.
-
In this session, to download maven you required artifacts of the build and dependencies and other plugins which are configured as part of any project, there should be a common place where all such artifacts are placed. This common shared area is called as Repository in maven.
-
In this tutorial, we will look on how to create a java project with Maven.
-
A Java EE application is delivered in either a Java Archive (JAR) file, a Web Archive (WAR) file, or an Enterprise Archive (EAR) file. A WAR or EAR file is a standard JAR (.jar) file with a .war or. ear extension.
-
A Build Lifecycle is a well-defined sequence of phases, which define the order in which the goals are to be executed. Here phase represents a stage in life cycle.
-
In this video you will, learn to create Java application project with maven commands, using interactive and non-interactive modes from command prompt.
-
In the tutorial, we will see how to build a project and test the code written.
-
This tutorial describes the creating of Maven within the standalone project through IDE for building Java applications.
-
Lecture 10 - Creating Maven Standalone Project through IDE
-
This chapter teaches you how to manage a web-based project using Maven. Here you will learn how to create/build/deploy and run a web application.
-
This tutorial describes how to add a project as a dependency of another project.
-
The version of this Maven tutorial is based on Maven dependency chain.
-
This is maven default scope. Dependencies with compile scope are needed to build, test, and run the project.
Course/Topic 4 - JUnit 5 - all lectures
-
In this session we will discuss about the basic introductory topics of Junit. This video talks about the unit testing framework for Java developers, what is unit testing – as a type of software, peer testing, what is Junit and official website of Junit.
-
In this session we will discuss about adding Junit5 dependency in Maven project using HTS tool to develop projects in JAVA. Further we will see ow dependency is added.
-
In this session we will discuss the most important annotation in Junit5. This video talks about the process to implement Junit5 in Java project. Further we will discuss java file and non-java files.
-
In this session we will discuss the later part of annotation. This video talks about the conditional test execution such as condition on OS, condition on JRE, condition on JRE range, condition on system properties.
-
In this session we will discuss about the last part of annotations. This video talks about the order in which test method should be executed.
-
In this session we will discuss the need for repeated test annotation in Junit5. Sometimes there might be requirement of executing same test, then we use repeated test annotation.
-
In this session we will discuss about assertions in Junit5. This video talks about what are assertion and how they are used for testing the test methods. Such a test case may pass or fail.
-
In this session we will discuss some more important methods on assertion in Junit5. This video talks about how, if expected results are matching with actual results then the test case will pass, and when the expected results are not matching with actual results then test case will fail.
-
In this session we will discuss about timeouts in Junit5. This video talks about specifically setting a time and within that time a test method should be executed for test to pass.
-
In this session we will discuss about the expected exceptions in Junit5. This video talks about the meaning of expected exceptions. When working on any java project we come across different types of exceptions like null pointer, illegal argument exception, arithmetic exception, file not found exception. Further we will see how to handle such situation and make the test case pass.
-
In this session we will discuss about the parameterized tests in Junit5. This video talks about passing inputs to test methods in different slots and how to handle the situation in our projects. Further we will see the important parameterized tests such as ValueSource, EnumSource, MethodSource and CSVSource.
-
In this session we will discuss how to run unit test with maven. This video talks about how to run “n” number of test classes with maven.
-
In this session we will discuss tagging and filtering in Junit5 with maven. This video talks about how we can work with @tag annotation for tagging to specify the tag and which test should be used in the development phase.
-
In this session we will discuss about Hamcrest Framework which we use along with Junit5. Hamcrest is a separate library used in combination with Junit5. This video talks about how to work with Hamcrest API with respect to correction and user defined objects.
-
In this session we will discuss about how to perform unit testing on spring boot repository. This video talks about what is a repository – where we store our data. i.e real-time database storage.
-
In this session we will discuss about the spring boot integration system. This video talks about how to perform unit testing using Spring boot integration testing.
Course/Topic 5 - Log4j - all lectures
-
In this session we will discuss about Log4 Introduction. This video talk about what is log4j and when we are going to work with log4j. Further we will discuss about the advantages of log4j. Before understanding what log4j is we will understand the environment on which application will be running and the types of environments such as, Development, QA, UAT and Production. Lastly, we will see what is logging and what are the main components related to Log4j.
-
In this session we are going to discuss the components and implementation in log4j with practical application. This video talks about what are the main components used to implement log4j in our applications with 3 different components in log4j, i.e., logger, appender and layout.
-
In this session we will discuss about working with Log4j. properties file. This video talks about how to configure details like appender, layout etc. inside a separate properties file. Further this video explains how Log4j is a tracing or logging tool used in production environment and how it s used to find messages.
1).Know the fundamentals of Site Reliability Engineering and how cloud computing may help.
2).Create applications that are fault tolerant, self-healing, resilient, and reliable.
3).Examine a simple python microservice ecosystem and understand its limitations
4).Identify critical stack components, and redesign them so they're resilient and reliable
5).Map design changes to native AWS services with ease
6).Deploy redesigned applications in a globally accessible, resilient, and reliable way
Course Syllabus: Career Path - Site Reliability Engineer (SRE)
Module 1:Introduction to Site Reliability Engineering
This module introduces the concept of Site Reliability Engineering, its origins at Google, and its importance in modern software development and operations. Students will explore the principles and practices that define SRE, including the balance between development and operations, and the role of SREs in ensuring reliable and scalable systems.
Module 2:Understanding Reliability and SLIs, SLOs, and SLAs
Students will learn about key metrics that measure system reliability, including Service Level Indicators (SLIs), Service Level Objectives (SLOs), and Service Level Agreements (SLAs). This module will cover how to define, measure, and report on these metrics to ensure that systems meet both user expectations and business requirements.
Module 3:Infrastructure as Code (IaC)
This module covers the principles of Infrastructure as Code, focusing on tools and practices that enable the automation of infrastructure provisioning and management. Students will learn about popular IaC tools such as Terraform and AWS CloudFormation, and how to use them to deploy and manage cloud resources efficiently.
Module 4:Monitoring and Observability
Focusing on the importance of monitoring and observability, this module will explore tools and techniques for collecting and analyzing system metrics, logs, and traces. Students will learn to use monitoring tools like Prometheus, Grafana, and ELK Stack to create meaningful dashboards and alerts that help maintain system health.
Module 5:Incident Management and Response
Students will delve into best practices for incident management, including detection, response, and postmortem analysis. This module will cover the incident response lifecycle, communication strategies during incidents, and how to implement effective post-incident reviews to drive continuous improvement.
Module 6:Performance and Capacity Planning
This module focuses on strategies for performance optimization and capacity planning. Students will learn how to analyze system performance, identify bottlenecks, and implement scaling strategies. Topics will include load testing, stress testing, and tools for capacity forecasting to ensure systems can handle varying loads.
Module 7:Continuous Integration and Continuous Deployment (CI/CD)
Students will explore the principles and practices of CI/CD, which are essential for enabling rapid and reliable software delivery. This module will cover the CI/CD pipeline, automation tools like Jenkins, GitLab CI, and CircleCI, and best practices for integrating testing and deployment into the software development lifecycle.
Module 8:Configuration Management
Focusing on configuration management, this module will cover tools and practices that ensure system configurations are consistent and reproducible. Students will learn about popular configuration management tools such as Ansible, Chef, and Puppet, and how to implement them in production environments.
Module 9:Security in SRE
This module addresses the importance of security in Site Reliability Engineering. Students will learn about best practices for securing applications and infrastructure, including threat modeling, vulnerability management, and incident response for security breaches. The integration of security into DevOps practices will also be discussed.
Module 10:Cloud Services and Platforms
Students will explore cloud computing concepts and the various services offered by cloud providers such as AWS, Azure, and Google Cloud Platform. This module will cover the architectural principles of cloud-native applications and how to leverage cloud services for reliability and scalability.
Module 11:Culture and Collaboration in SRE
This module focuses on the cultural aspects of SRE, including collaboration between development and operations teams. Students will learn about fostering a blameless culture, encouraging shared responsibility, and implementing practices that promote teamwork and communication across teams.
Module 12:Case Studies and Best Practices
In this module, students will analyze case studies of successful SRE implementations in various organizations. Discussions will focus on lessons learned, challenges faced, and best practices that can be applied in their own environments, enhancing their understanding of SRE principles in practice.
Module 13:Capstone Project
The course culminates in a capstone project where students will work in teams to design and implement a reliable system using SRE principles. They will apply all concepts learned throughout the course, from monitoring and incident management to infrastructure automation. Students will present their projects to peers and instructors, demonstrating their ability to apply SRE practices effectively.
Conclusion
This syllabus is designed to equip aspiring Site Reliability Engineers with the knowledge and skills necessary to build and maintain reliable, scalable, and efficient systems. Through a blend of theoretical concepts and practical applications, students will be prepared to contribute to the success of their organizations by enhancing system reliability and fostering a culture of continuous improvement.
The Site Reliability Engineer Certification ensures you know planning, production and measurement techniques needed to stand out from the competition.
If you have a passion for development and systems, site reliability engineering might be a good career path for you. SRE, for site reliability engineer or site reliability engineering, is a relatively new position that combines software engineering with IT systems management.
The field of site reliability engineering originated at Google with Ben Treynor Sloss, who founded a site reliability team after joining the company in 2003. In 2016, Google employed more than 1,000 site reliability engineers.
A site reliability engineer (SRE) creates a bridge between development and IT operations by taking on the tasks typically done by operations. Instead, such tasks are given to these types of engineers who use automation tools to solve problems by creating scalable and reliable software systems.
Site reliability engineers typically spend up to 50% of their time dealing with the daily care and feeding of software applications. They spend the rest of their time writing code like any other software developer would.
SRE has become the production support companion for modern application development. While the Network Operations Center (NOC) and SRE primary objectives are to focus on application uptime, the responsibility of supporting applications is much greater.
Uplatz online training guarantees the participants to successfully go through the JSP (Site Reliability Engineer Certification provided by Uplatz. Uplatz provides appropriate teaching and expertise training to equip the participants for implementing the learnt concepts in an organization.
Course Completion Certificate will be awarded by Uplatz upon successful completion of the Site Reliability Engineer Online course.
The Site Reliability Engineer Draws an average salary of $122,000 per year depending on their knowledge and hands-on experience.
Who are site reliability engineers and what do they do?
If you have a passion for development and systems, site reliability engineering might be a good career path for you. SRE, for site reliability engineer or site reliability engineering, is a relatively new position that combines software engineering with IT systems management.
As site reliability engineers take part in on-call duties, IT operations, software development, and support, they gain substantial historical knowledge.
Note that salaries are generally higher at large companies rather than small ones. Your salary will also differ based on the market you work in.
A site reliability engineer is a software developer with IT operations experience - someone who knows how to code, and who also understands how to keep the lights on in a large-scale IT environment. Site reliability engineers spend no more than half their time performing manual IT operations and system administration tasks – analyzing logs, performance tuning, applying patches, testing production environments, responding to incidents, conducting postmortems - and spend the rest of their time developing code that automates those tasks. Their goal is to spend much less time on the former and much more time on the latter over time.
Q1:How do you apply DevOps principles in your work as a Site Realty Engineer, and what benefits have you observed? Ans:As a Site Realty Engineer, I apply DevOps principles to streamline and automate the deployment and management of software and infrastructure. Key practices include:
1).Continuous Integration/Continuous Deployment (CI/CD): Implement CI/CD pipelines to automate the build, test, and deployment processes, ensuring that updates are delivered rapidly and reliably.
2).Infrastructure as Code (IaC): Use IaC tools to manage and provision infrastructure, allowing for consistent and repeatable setups across different environments.
3).Monitoring and Feedback: Implement monitoring and logging solutions to track system performance and receive feedback on deployments, enabling proactive issue resolution and continuous improvement.
4).Collaboration: Foster collaboration between development, operations, and QA teams to improve communication and align on goals.
The benefits of applying DevOps include faster deployment cycles, improved software quality, enhanced collaboration, and more efficient management of infrastructure.
Q2:How do you use Git and GitHub to manage your code and collaborate with team members?
Ans: I use Git and GitHub for version control and collaboration by:
1).Version Control: Track changes to code using Git commits, providing a history of modifications and the ability to revert to previous versions if needed.
2).Branching: Create branches for new features or bug fixes to work in isolation without affecting the main codebase. This allows for parallel development and easier integration.
3).Pull Requests: Use pull requests to review and discuss code changes before merging them into the main branch. This process ensures code quality and fosters collaboration.
4).Issue Tracking: Leverage GitHub issues to track bugs, feature requests, and tasks, enabling organized and transparent project management.
By using these practices, I ensure that code changes are well-managed, collaboration is effective, and the development process is streamlined.
Q3:What is Maven, and how do you use it for build and dependency management in your projects? Ans:Maven is a build automation tool used primarily for Java projects. It helps manage project builds, dependencies, and documentation. I use Maven for:
1).Build Automation: Define project build configurations and automate the build process using a pom.xml file, which includes build settings, plugins, and goals.
2).Dependency Management: Declare project dependencies in the pom.xml file, allowing Maven to automatically download and include the required libraries during the build process.
3).Project Structure: Maintain a standardized project structure, which simplifies the build process and ensures consistency across different projects.
By using Maven, I ensure that builds are reproducible, dependencies are managed efficiently, and project configurations are standardized.
Q4:How do you use JUnit 5 for testing in your automation projects, and what are its advantages over JUnit 4?
Ans:I use JUnit 5 for testing in automation projects due to its modern features and improvements over JUnit 4:
1).Modular Architecture: JUnit 5 is composed of three main modules: JUnit Platform, JUnit Jupiter, and JUnit Vintage. This modularity allows for greater flexibility and support for different testing needs.
2).Enhanced Annotations: JUnit 5 introduces new annotations such as @BeforeEach and @AfterEach for setup and teardown, replacing the older @Before and @After from JUnit 4. It also supports more advanced features like parameterized tests with @ParameterizedTest.
3).Dynamic Tests: Support for dynamic tests using the @DynamicTest annotation allows for the creation of tests that are generated at runtime, providing more flexibility.
4).Integration with Modern Tools: JUnit 5 integrates well with modern build tools and CI/CD pipelines, facilitating automated testing in various environments.
By using JUnit 5, I benefit from its advanced features, improved flexibility, and better support for modern testing practices.
Q5:What is Log4j, and how do you use it for logging in your projects?
Ans: Log4j is a logging library for Java applications that provides a flexible and configurable way to log application events and messages. I use Log4j for:
1).Logging Configuration: Configure logging settings in a log4j.properties or log4j2.xml file, defining log levels, output destinations, and log formatting.
2).Log Levels: Use different log levels (e.g., DEBUG, INFO, WARN, ERROR) to control the verbosity of logs and capture relevant information based on the application’s needs.
3).Output Destinations: Configure multiple appenders to direct logs to various output destinations, such as console, files, or remote servers.
4).Performance Monitoring: Monitor application performance and diagnose issues by analyzing log data, helping to identify and resolve problems efficiently.
By using Log4j, I gain better visibility into application behavior, facilitate debugging, and ensure that critical events and errors are logged appropriately.
Q6:How do you approach automation testing, and what tools and techniques do you use? Ans: My approach to automation testing involves:
1).Test Planning: Define test objectives, identify test cases suitable for automation, and select appropriate tools based on project requirements.
2).Tool Selection: Choose automation tools that best fit the project’s technology stack and requirements. Common tools include Selenium for web applications and UiPath for RPA.
3).Test Script Development: Write and maintain automated test scripts using the selected tools, ensuring they cover critical functionality and edge cases.
4).Test Execution: Integrate automated tests into the CI/CD pipeline to ensure tests are executed with each build or deployment, providing continuous feedback on code quality.
5).Test Maintenance: Regularly update and maintain test scripts to accommodate changes in the application and ensure that tests remain effective and relevant.
By following these practices, I ensure comprehensive test coverage, early detection of issues, and consistent testing across different environments.


